Introduction
My daughter wanted to be a witch for Halloween. For that costume was of course a Magic Wand a mandatory accessory.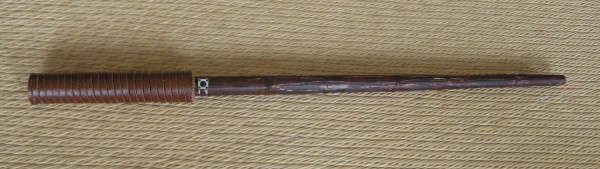 |
| The finished Magic Wand |
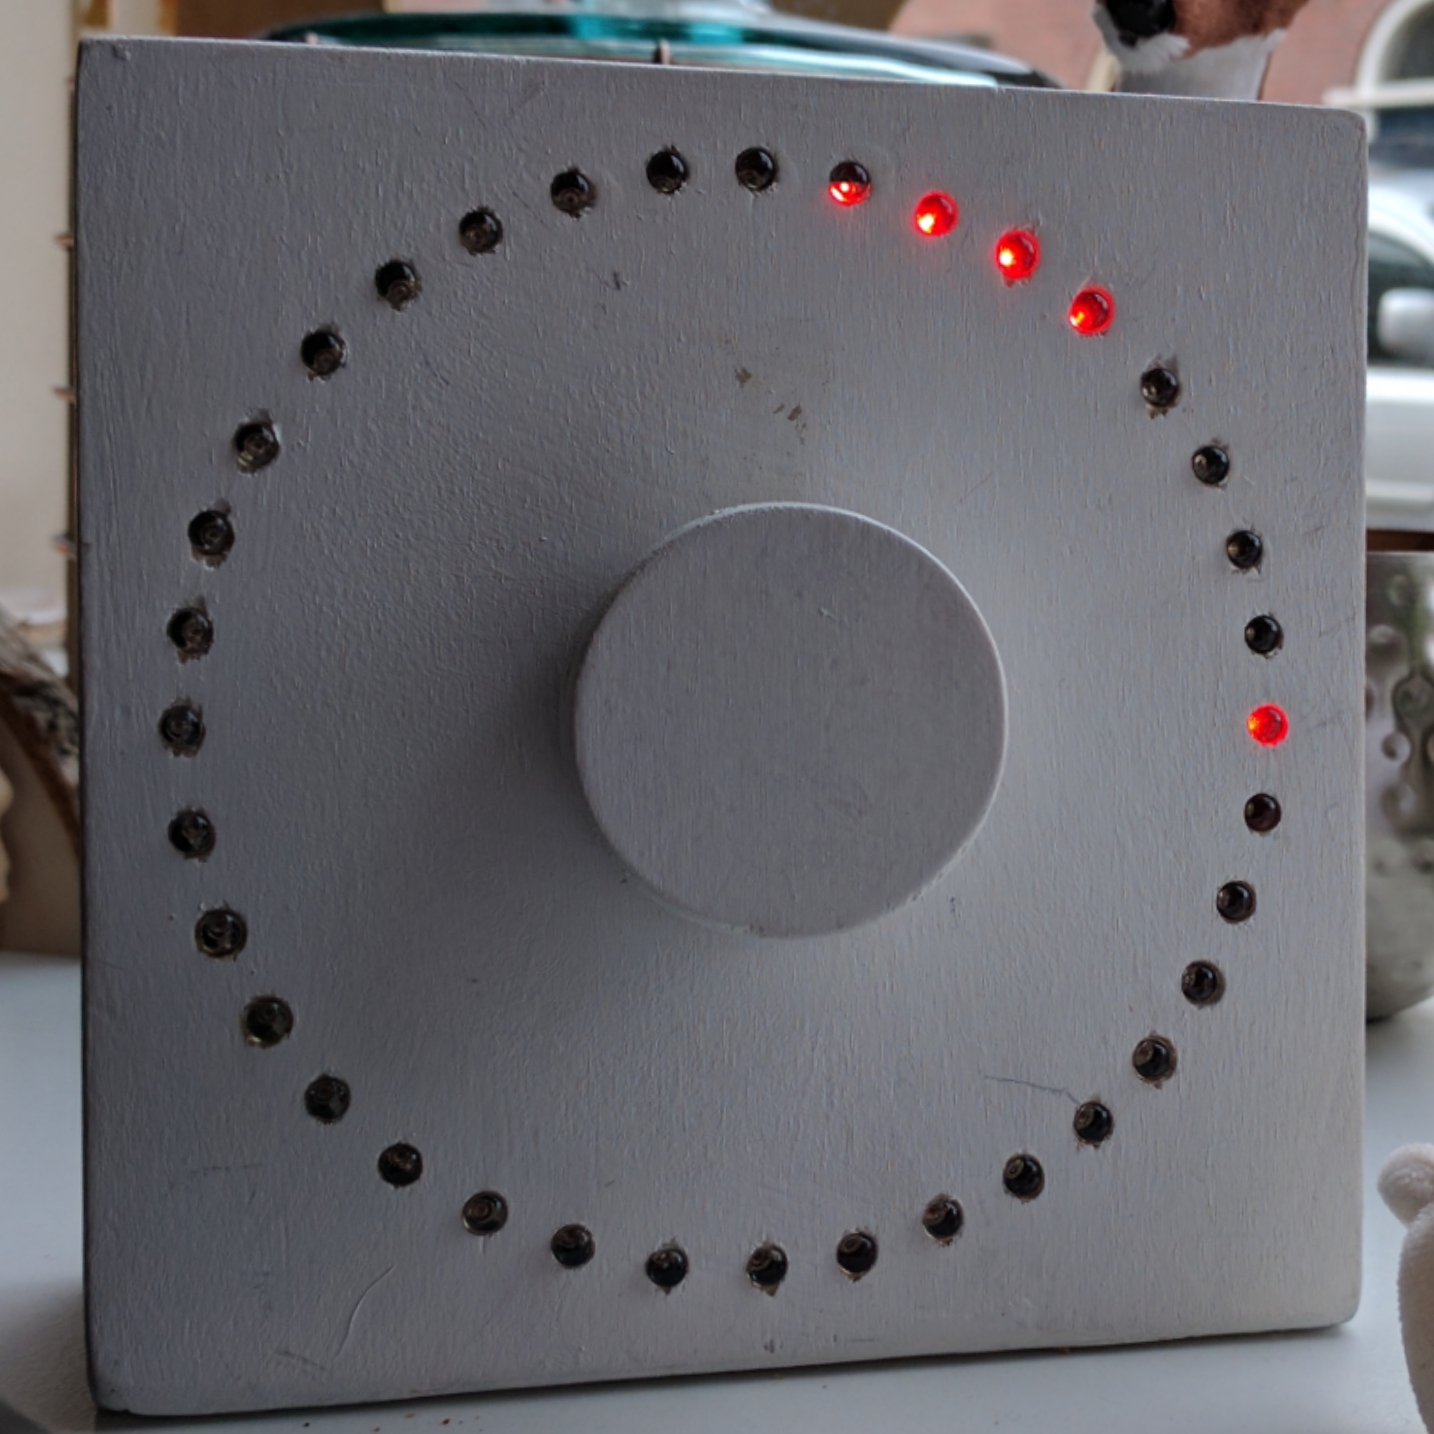
I have made a movie to show the different patterns, but I noticed that the sound was not correct. This will be reuploaded at a later time.
There is a debug interface to upload new firmware to the magic wand.
Mechanical construction
The following picture shows the main items I have used to make the magic wand: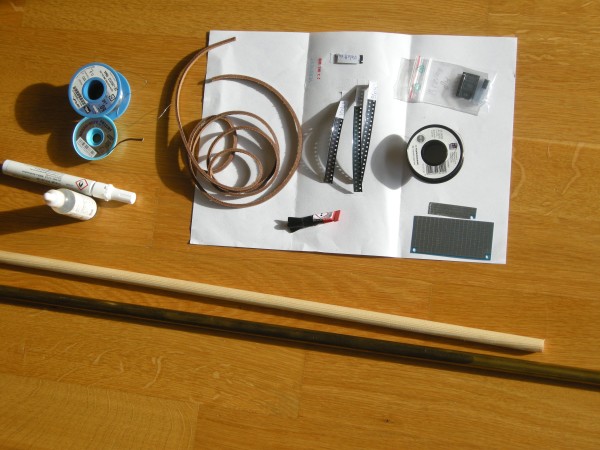
- As base I have used a 12mm diameter wooden stick.
- To store the electronics and batteries I have used a brass tube with an inner diameter of about the same as the outer diameter of the wood. With a bit Kapton tape is the stick stuck in the tube. This part forms the handle of the magic wand. It is also possible to use an empty tube like part such as a (whiteboard) marker.
- A leather cord is glued to the handle to make it feel and look nice.
- LEDs are glued with super glue to the wood before soldering the wire to each LED. I have used 0603 for the body of the wand and 0805 for the top. In my case I have used the colour purple for all led.
- The electronics consist of mainly a Attiny84 with some resistors and capacitors.
- The chip is soldered on a piece of SMD prototype board. This has a bit of a special grid and was not perfect in that aspect but it was very thin and could be easily cut to size and fixed in the wood & tube. I have used this.
- The LED and electronics are connected with a 0.2mm diameter isolated copper wire. The isolation layer is burned off on the locations where I wanted to solder.
- Paint and lacquer to colour the stick. I have used acrylic paint.
- Furthermore is solder, flux and solder wick needed.
- It is difficult to get the stick in the right shape. Clamping the stick in a drill and run it over sanding paper did not work so well. Cutting it with plane in the right shape and sanding afterwards did work for me. A small lathe is probably nice for this kind of round work pieces.
- The super glue worked very well to tack the led to the wood and to solder it. A bit heat is needed to remove the glue from the led on the points where it should be soldered. But no led came of during the soldering.
- With the solder iron on 450C is the isolation material on the copper wire quickly gone. This works better than a mechanical method (sanding paper, knife etc.) however is not good for the tip of the soldering iron.
- I have painted clear lacquer over the LEDs after the soldering; this to protect the led and the wires. A disadvantage of this is that the light travels side ways over the magic wand.
- I have put first the 8 wires on the stick with tape and then put the LEDs in between and have solder them by pulling the wire to the LED. Probably it is easier to put lines on the stick to determine the LED position, glue the led and then pull the wires from LED to led. I expect that that works better to keep things nicely oriented.
Electrical schematic
The electrical schematic is fairly simple. PortA of the Attiny84 microcontroller is used to drive the leds. In principle is it possible to charlieplex in this way 56 leds (N^2-N). For this design I am using only 24 leds. The 150ohm resistors is calculated based on a 2.8V voltage drop over the led and a 5mA drive current. In the software is never more then 1 led on at the same time so this construction is from the current load on the microcontroller fairly uncritical.
 |
| Electrical schematic of the Magic Wand |
The programming interface is working correctly when the LEDs are attached. This does give some additional light effects when the microcontroller is programmed.
The push button is directly between the batteries and the processor board. For testing I have used 3 AAA penlight batteries. I have used 3 stacked LR44 batteries to fit in the handle during "normal" usage. The electrical contact points of the battery are made with thumb-tacks, which works surprisingly well. The diode D1 protects the circuit when I forget what the + and - side of the battery should be.
With some work the electronics looks like this:
 |
| The electronics inside the magic wand. |
I had to use a microscope to solder this successfully.
Software
The firmware for the magic wand is fairly simple and written in the Arduino platform. There is no real reason to do this; this could be done just as simple without Arduino and with a normal Makefile and avr-gcc.A table with DDRA and PORTA values is used to address each LED correctly and to compensate for "errors" in the soldering. By using the index in the table is each LED addressable.
The push button is connected to the power supply of the Attiny84. This means that when the button is pushed the processor gets power and comes out of the reset. As first step is the previous animation number read out of the EEprom.
Then is the next animation shown. At the end of the animation is this new number written into the EEprom.
After this is the processor put in deep sleep to save current when the button is continuously pushed.
With this setup is it possible to repeat an animation when the button is released before the animation is finished. A new animation will be shown when is waited until the previous animation is finished and the push button is pushed again.
Things to improve:
- Remove the Arduino frame work. I am not really using it and it is probably giving some timing issues.
- I have a flicker in the first part of each animation. Just if it is run two times. I thought it could be because the calculations done which is adding 0 for the first ring. But removing this with and IF statement is not solving this either.
- Some fading or different brightness levels would be nice to add to the animations. This must be possible with a timer interrupt but I did not had enough time before Halloween to experiment with it.
#include <EEPROM.h>   // Items for the EEPROM
#include <avr/sleep.h>    // Sleep Modes
#include <avr/power.h>    // Power management

#define ATTINY84
#define MAXEFFECT 7
#define EEADDRESS 5

#define SLOWCYCLE 200
#define FASTCYCLE 100
#define NULLCYCLE 0

#define SLOWDELAY 400
#define FASTDELAY 200
#define NULLDELAY 3

const uint8_t dirlist[] PROGMEM  ={ B0,
                  B00000110, B00011000, B01100000, B10000001, B00000011, B00001100, B00110000, B11000000,
                  B00000110, B00011000, B01100000, B10000001, B00000011, B00001100, B00110000, B11000000,
                  B00000101, B00010100, B01010000, B01000001, B00000101, B00010100, B01010000, B01000001 };
const  uint8_t outlist[] PROGMEM  ={ B0,
                  B00000100, B00010000, B01000000, B00000001, B00000010, B00001000, B00100000, B10000000,
                  B00000010, B00001000, B00100000, B10000000, B00000001, B00000100, B00010000, B01000000,
                  B00000100, B00010000, B01000000, B00000001, B00000001, B00000100, B00010000, B01000000};

struct MyUseCntStruct {
   byte pattern;
   int usecnt;
};

MyUseCntStruct MyUseCnt;

void setup() {
  // put your setup code here, to run once:
   SetLed(0);
   EEPROM.get(EEADDRESS, MyUseCnt);
   MyUseCnt.pattern +=1;
   if (MyUseCnt.pattern > MAXEFFECT) MyUseCnt.pattern=0;
}

void loop() {
  // put your main code here, to run repeatedly:
  switch (MyUseCnt.pattern) {
    case 0:
       PatternDot();
       break;
    case 1:
       PatternRing();
       break;
    case 2:
        AllOn();
        break;
    case 3:
        TestRing();
        break;
    case 4:
        PatternLine1();
        break;
    case 5:
        PatternLine2();
        break;
    case 6:
        PatternRandom();
        break;
    case 7:
        PatternRing2();
        break;
    default:
       PatternDot();
       break;
    }
 MyHalt();
}

void SetLed(uint8_t lednum) {
  PORTA=0; // Set all to zero before changing the led
  DDRA=pgm_read_byte_near(dirlist + lednum);
  PORTA=pgm_read_byte_near(outlist + lednum);
}

void MyHalt() {
  // function to stop the anymation and to put the processor to sleep
  SetLed(0);
  set_sleep_mode(SLEEP_MODE_PWR_DOWN);
  MyUseCnt.usecnt+=1;
  EEPROM.put(EEADDRESS, MyUseCnt);
  // now sleep
  ADCSRA = 0;            // ADC ausschalten
  power_all_disable ();
  sleep_enable();
  sleep_cpu();             // µC schläft
}

void RingLed(uint8_t ring, uint16_t cycle, uint16_t wait) {
  // Make a ring light
  // 0 is the ring closed to the handle and 5 is the ring at the tip.
  if (ring == 0) {
    for (uint16_t i = 0; i <= cycle; i++) {
       SetLed(1 );
       delay(wait);
       SetLed(2 );
       delay(wait);
       SetLed(3 );
       delay(wait);
       SetLed(4);
       delay(wait);
    }
  } else {
    ring *= 4;
    for (uint16_t i = 0; i <= cycle; i++) {
       SetLed(1 + ring );
       delay(wait);
       SetLed(2 + ring );
       delay(wait);
       SetLed(3 + ring );
       delay(wait);
       SetLed(4 + ring );
       delay(wait);
    }
  }
}

void ColumLed(uint8_t column, uint16_t cycle, uint16_t wait) {
  // Make a column on the stick
  if (column ==0 ) {
      for (uint16_t i = 0; i <= cycle; i++) {
         SetLed(1);
         delay(wait);
         SetLed(5);
         delay(wait);
         SetLed(9);
         delay(wait);
         SetLed(13);
         delay(wait);
         SetLed(17);
         delay(wait);
         SetLed(21);
         delay(wait);
      }
  } else {
    for (uint16_t i = 0; i <= cycle; i++) {
       SetLed(1 + column );
       delay(wait);
       SetLed(5 + column );
       delay(wait);
       SetLed(9 + column );
       delay(wait);
       SetLed(13 + column );
       delay(wait);
       SetLed(17 + column );
       delay(wait);
       SetLed(21 + column );
       delay(wait);
    }
  }
}

void PatternDot () {
  RingLed(0,NULLCYCLE,FASTDELAY);
  RingLed(1,NULLCYCLE,FASTDELAY);
  RingLed(2,NULLCYCLE,FASTDELAY);
  RingLed(3,NULLCYCLE,FASTDELAY);
  RingLed(4,NULLCYCLE,FASTDELAY);
  RingLed(5,NULLCYCLE,FASTDELAY);
  RingLed(5,SLOWCYCLE,NULLDELAY);
}

void PatternRing() {
  RingLed(0,FASTCYCLE,NULLDELAY);
  RingLed(1,FASTCYCLE,NULLDELAY);
  RingLed(2,FASTCYCLE,NULLDELAY);
  RingLed(3,FASTCYCLE,NULLDELAY);
  RingLed(4,FASTCYCLE,NULLDELAY);
  RingLed(5,SLOWCYCLE,NULLDELAY);
}

void PatternRing2() {
  RingLed(0,FASTCYCLE,NULLDELAY);
  RingLed(1,FASTCYCLE/2,NULLDELAY);
  RingLed(2,FASTCYCLE/3,NULLDELAY);
  RingLed(3,FASTCYCLE/4,NULLDELAY);
  RingLed(4,FASTCYCLE/5,NULLDELAY);
  RingLed(5,SLOWCYCLE,NULLDELAY);
}

void TestRing() {
  RingLed(5, SLOWCYCLE,NULLDELAY);
}

void AllOn() {
  for (uint16_t i = 0; i <= FASTCYCLE; i++) {
    RingLed(0, NULLCYCLE,NULLDELAY);
    RingLed(1, NULLCYCLE,NULLDELAY);
    RingLed(2, NULLCYCLE,NULLDELAY);
    RingLed(3, NULLCYCLE,NULLDELAY);
    RingLed(4, NULLCYCLE,NULLDELAY);
    RingLed(5, NULLCYCLE,NULLDELAY);
  }
  RingLed(5, SLOWCYCLE,NULLDELAY);
}

void PatternLine1() {
   ColumLed(0,NULLCYCLE, FASTDELAY);
   ColumLed(1,NULLCYCLE, FASTDELAY);
   ColumLed(2,NULLCYCLE, FASTDELAY);
   ColumLed(3,NULLCYCLE, FASTDELAY);
   RingLed(5, SLOWCYCLE,NULLDELAY);
}

void PatternLine2() {
   ColumLed(0,FASTCYCLE, NULLDELAY);
   ColumLed(1,FASTCYCLE, NULLDELAY);
   ColumLed(2,FASTCYCLE, NULLDELAY);
   ColumLed(3,FASTCYCLE, NULLDELAY);
   RingLed(5, SLOWCYCLE, NULLDELAY);
}

void PatternRandom() {
    SetLed(1);
    delay(FASTDELAY/2);
    SetLed(10);
    delay(FASTDELAY/2);
    SetLed(7);
    delay(FASTDELAY/2);
    SetLed(3);
    delay(FASTDELAY/2);
    SetLed(15);
    delay(FASTDELAY/2);
    SetLed(17);
    delay(FASTDELAY/2);
    SetLed(4);
    delay(FASTDELAY/2);
    SetLed(10);
    delay(FASTDELAY/2);
    SetLed(2);
    delay(FASTDELAY/2);
    SetLed(18);
    delay(FASTDELAY/2);
    SetLed(9);
    delay(FASTDELAY/2);
    SetLed(9);
    delay(FASTDELAY/2);
    RingLed(5, SLOWCYCLE, NULLDELAY);
}